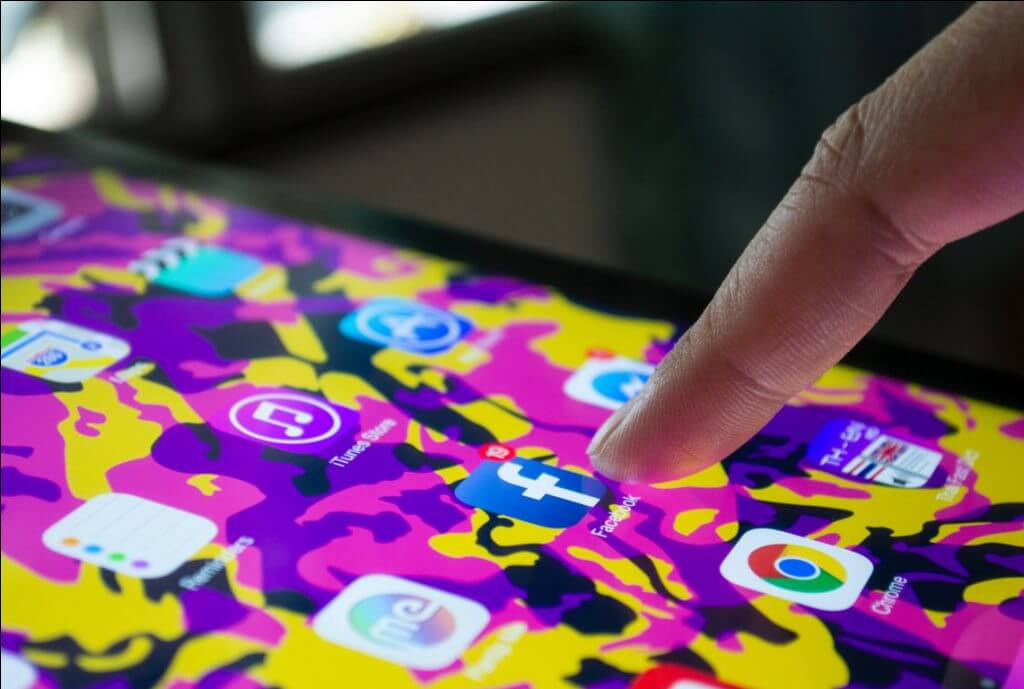
Facebook is a major online social networking platform, which connects you with your loved ones and gives you a daily dose of infotainment from across the world. I remember using it mostly for the memes and the birthday reminders. Though Zuckerberg’s project has recently seen a pushback in popularity (due to the rise of other engaging forums and privacy hack news), yet stats show its marketing side to have excelled liberally. Only last year in Q4, Facebook’s total advertising revenue reached almost $17 billion—30% higher than before, which is saying something! That is why marketers today tend to expand their reach through this social network and its game-changing commercial facet. If you’re planning on launching a campaign here too, then the best way to raise awareness about it would be through the creation of a Facebook event. How can you do that? The following steps will guide you in that regard.
From your Professional Page
Having a separate Facebook page for your brand enables you to split your professional persona from your private, personal one. This way you can distinctly put your business on a map, promote it openly by posting dedicated content on a regular basis, and track the engagement more efficiently over your Windstream online network. You can create an event on your page by following these steps:
- Hover over the left-hand sidebar of your page consisting of all the options, and go to ‘Events’. A new sub-page will open with a ‘Create Event’ button highlighted. Click on it.
- Next, you will be directed to a pop-up ‘New Event’ window with the slots for the required details. Add the title of the event, the location where it will be held and a personalized description of what it is going to be about for the users’ convenience. You can make it more eye-catching and more importantly, ‘clickable’, with a high-definition poster image or a short and sweet video about the event. The option is at the top if you can’t find it.
- Once you fill in the above, move on to the ‘Category’ slot. Use the drop-down menu to choose the kind of event you’re hosting from amongst the list (Causes, Art, Dance, Film, Fitness, Comedy, etc.). Next comes the ‘Frequency’ of the event. Will it happen once? Daily? Weekly? Or on custom dates? Select the one you want to from the drop-down list, and determine the dates plus the timings from the calendar.
- Scroll to the last few fields. If there are any other parties, people or pages involved with you in this event then enter their credentials in the ‘Co-hosts’ option. This will give them editing and event promoting privileges. Lastly, come to the ‘Details’ part and note down the exact permissions you want to give to your guests.
- Finally, press ‘Publish’ to make your event go live.
From your Personal Profile
Promoting your brand through your own private profile blows a streak of ‘personality’ into it. This way users, skeptical and all, see that there is an actual person, much like them, behind the banner of the brand, and thereby, are more inclined towards it. You can spread the word better by creating an event from your profile in the following ways:
- On the left side of your home page, you’ll find the option of ‘Events’ under the ‘Explore’ section. Open it and you’ll be directed to a page which lists the upcoming events. Again, hover to the left side and click on the blue ‘Create Event’ button. A drop down menu will reveal whether you want the event to be private or public. Choose the one that suits you the best.
- Move on to the required information section. Fill in the details about your event. Select a cover photo to head the tagline, and a theme to embellish the font. Type in the respective slot if you want a co-host. Hide or reveal the guest list. Set the option for the invites.
- Hit ‘Create’ to make the event go live.
Sounds easy peasy, doesn’t it?
So, create an event on Facebook using the aforementioned guidelines and let me know how it goes.
Chris Mcdonald has been the lead news writer at complete connection. His passion for helping people in all aspects of online marketing flows through in the expert industry coverage he provides. Chris is also an author of tech blog Area19delegate. He likes spending his time with family, studying martial arts and plucking fat bass guitar strings.