Want to start selling on Shopify but don’t know where to start?
Just sit back.
We’ve got a complete step-by-step guide that will help you get started with selling online.
Shopify is an all-in-one commerce platform that enables small business owners to sell both online and offline.
As you already know, Shopify is one of the most user-friendly eCommerce platforms.
However, there are numerous steps and factors to consider before going live with an online store.
Now that you’ve learned why Shopify is the best eCommerce platform for you, it’s time to get started building your online store.
Here are some essential steps you must take to start selling on Shopify and get you a highly converting store in no time.
A Complete Step-by-Step Guide to Start Selling on Shopify
In this start selling on Shopify guide, you’ll learn how to create an attractive online store quickly, list your products, convert more customers, and track your progress.
1. Shopify Account Set-up:
Shopify is one of the easiest platforms to build an eCommerce store online.
The first thing you can do is signing up and creating an account on Shopify.
However, if you want to test out the Shopify interface and everything, you can sign up for the 14-day trial without a credit card.
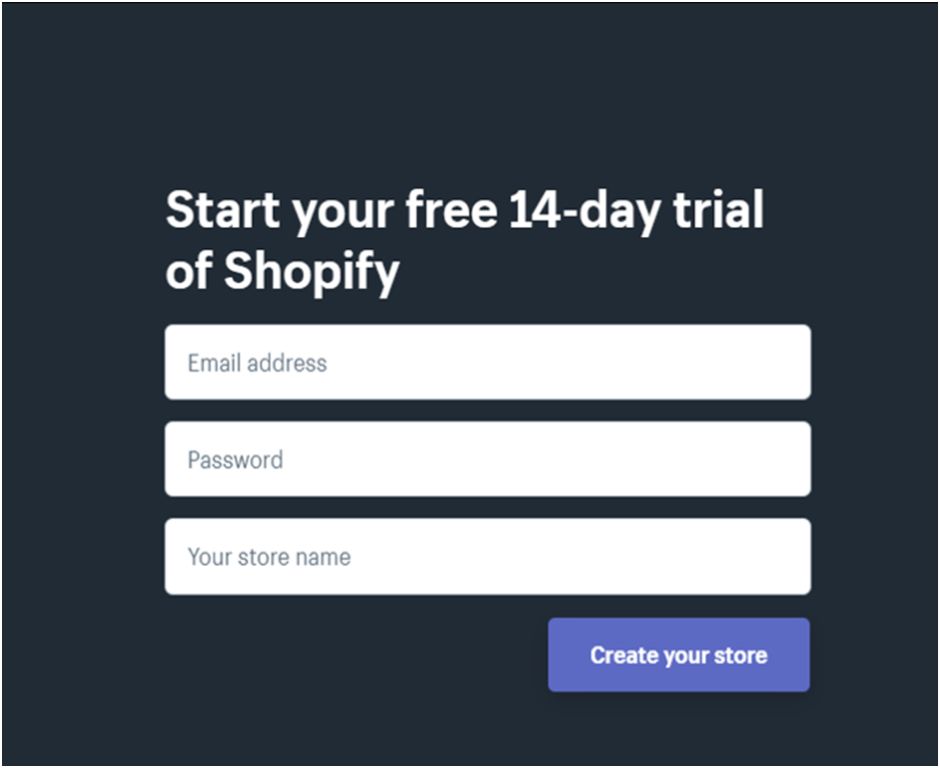
It is the best way to test the tool before deciding whether or not to continue with Shopify.
Don’t worry. You won’t be charged.
When your trial period expires, your account will be automatically cancelled.
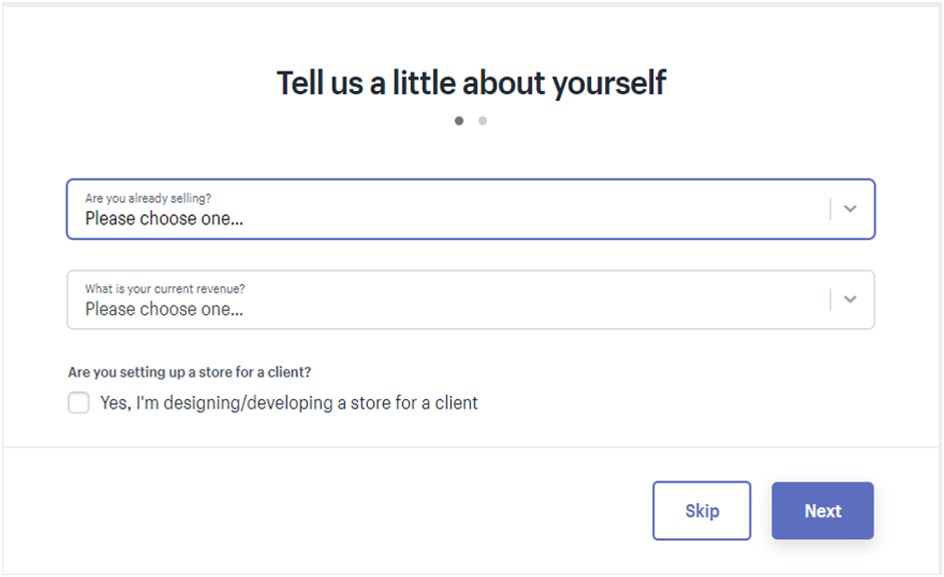
As you can see in the image, your store name is required at this stage.
So make sure you have your domain.
After you’ve completed the sign-up process, you’ll be asked a few questions, such as whether you’re selling or not, as well as your current revenue.
However, rather than skipping the process, we recommend that you answer all of Shopify’s questions.
Moreover, after clicking on next you will be transferred to a page where you’ll have to fill in some details like your name, business address, phone, and all.
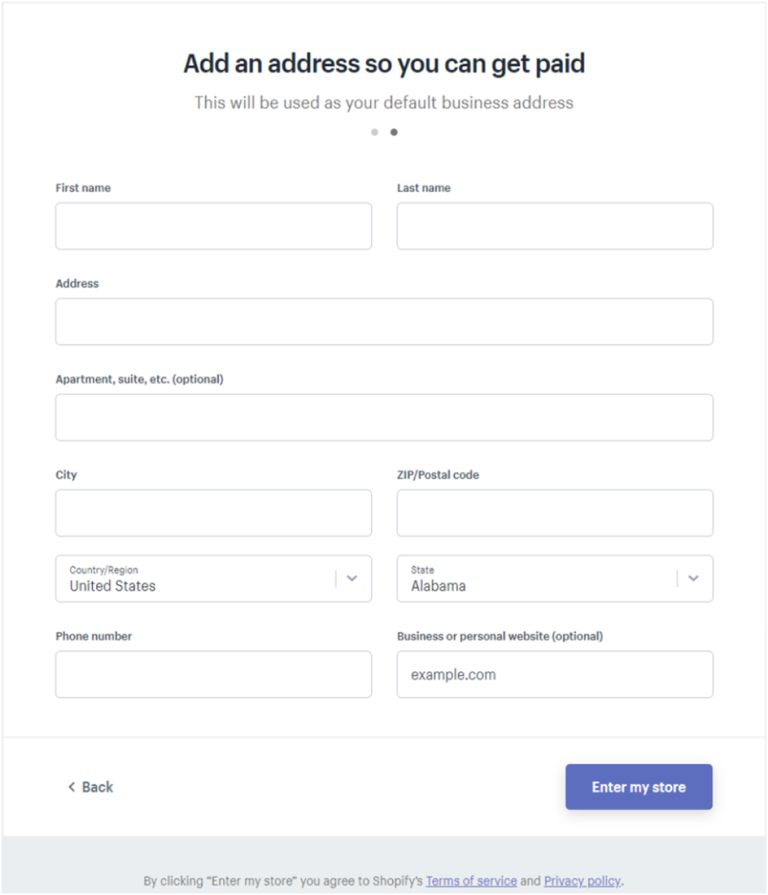
After you’re done with the details, click on the “Enter my store”.
BOOM!
Your setup has been completed.
You’re now in the backend of your store.
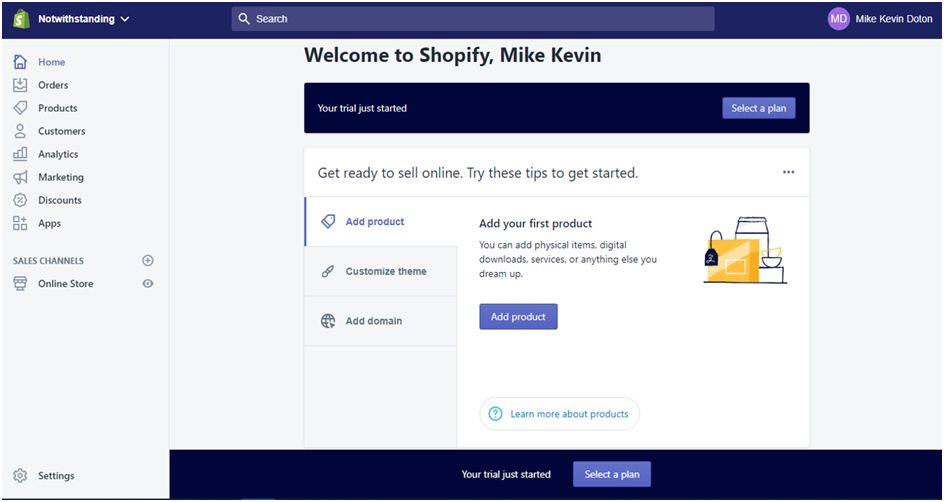
The homepage will prompt you to either: add a product, customize a theme, or add a domain.
2. Set Domain Name:
It’s time to set Domain name.
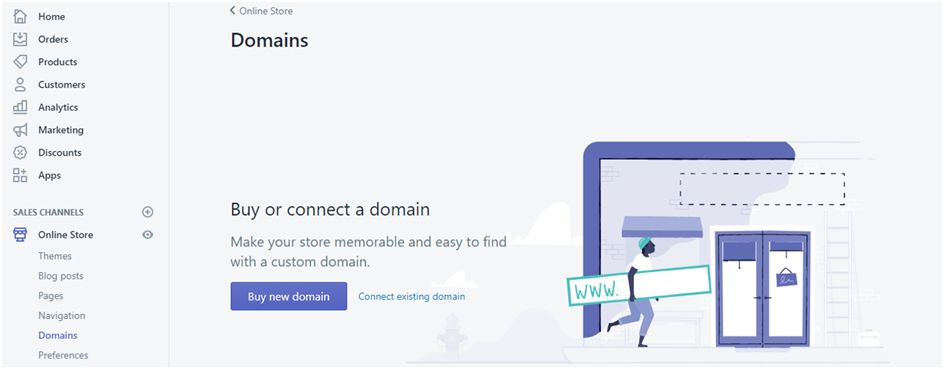
You all know the importance of Domain names.
Don’t go with its default domain name, “examplestore.myshopify.com”.
Instead, you must use your unique name that represents the value of your company and is easy to remember.
However, if you haven’t selected your name yet, you can select it from Bluehost and Siteground.
Let’s go over the criteria you should use to find the best domain name.
As I said earlier, choose an acronym or a term with fewer than 10 characters to make it easier for people to remember.
Also, it should be easy to pronounce.
This will give them an idea of your products before they even visit your website.
Furthermore, it will have a positive impact on your SEO ranking in the future.
3. It’s Time To Select A Shopify Theme
Choosing the right theme is very vital for your store.

Because it depends on customers whether they want to purchase or not.
People will be more attracted to your theme if it is responsive, modern, and speedy.
But where can you find this ideal theme combination?
You can go to: TemplateMela which is a great source of high-quality legitimate eCommerce themes.
Choosing an appealing and useful theme is crucial to portraying a professional, engaging, and high-quality store.
Shopify will give you a simple but functional design, but you must plan, build, and optimise your Shopify store from the ground up.
One more thing, when choosing a Shopify theme, don’t go with the free options.
We always recommend premium themes because they are more reliable, fast, responsive, SEO friendly, and have amazing features.
4. Start Adding Products
You’re now all set for adding products to your brand new Shopify store.
However, you need to be a bit focused while adding products.
Because you can’t just select any product you want, you need to think from your customer’s side.
You must give them what they want, and if you succeed in this, your conversions will double, and you will never run out of customers.
Go to your Shopify admin panel.
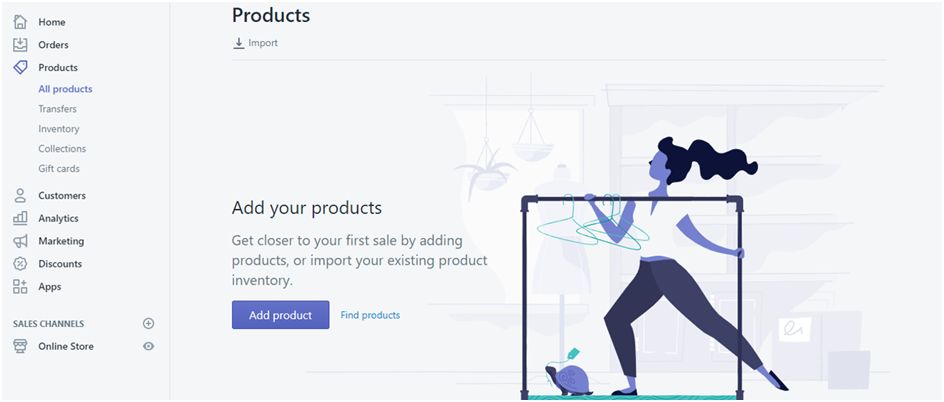
Now click on products and go to “inventories”.
If you’re good with adding products manually, then you can.
But if you have a bunch of products to upload and can surely do that by importing products with a CSV file.
Simply enter product information in a CSV file such as the name, description, type, etc.
5. Install Apps That Help Grow Your Business
Shopfy is a thorough and user-friendly platform.
And so, it has a large number of Shopify apps which are very helpful to sell more and grow faster.
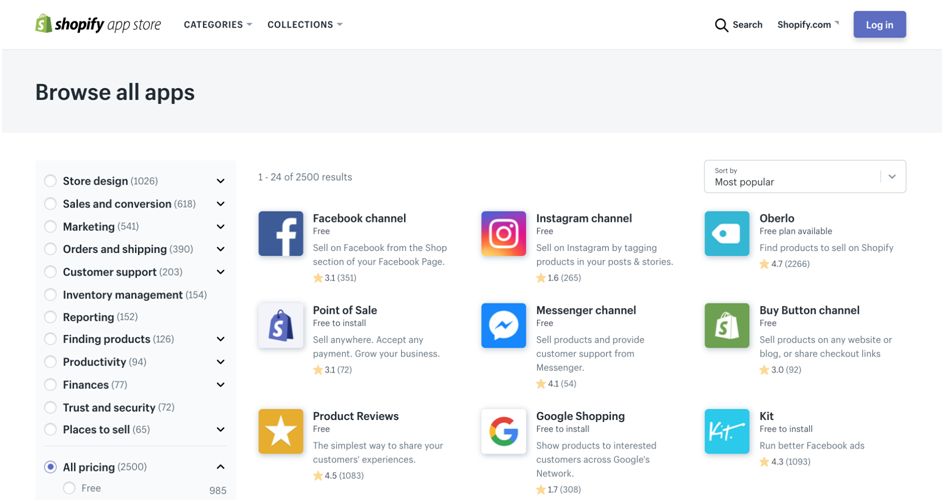
The benefit of using Shopify apps is that you can improve your Shopify store and accept new technology trends in order to stay competitive and thrive in the eCommerce sector.
When it comes to apps, there will be paid apps and free apps.
However, we already have a guide on Best free Shopify apps, that you must consider for your Shopify store.
In this guide, we have included essential Shopify apps for various purposes such as sales, management, analytics, and more.
Start Selling on Shopify
So this is how you can create your first Shopify store and start selling in no time with the help of Shopify apps.
The benefit of using Shopify is that you can create a powerful online store for you in a matter of hours, including inventory management, order management, and whatever else you need.
Why is Shopify best?
Because you won’t have to be a coding master in order to build a store from scratch.
Many business owners have done the same.
However, this was the complete basic guide on building a store and starting selling immediately.
You can always refer to the tutorials on YouTube and several guides made on selling on Shopify.